UK 58mm Button Maker Machine Badge Press Tool + 100 Button + 58mm Circle Cutter
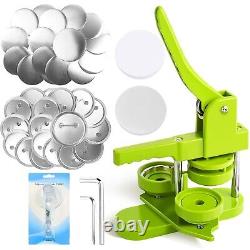
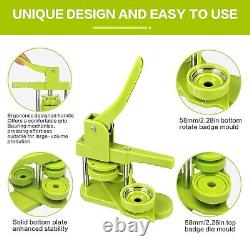
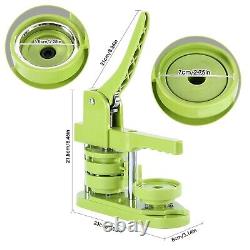
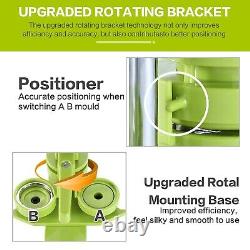
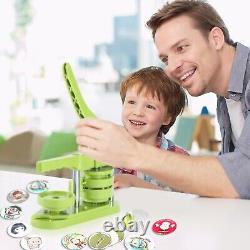
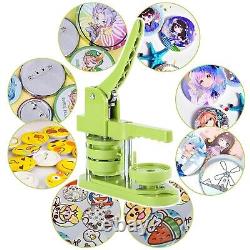

Our pin making machine adopts a distinctive rotary moulding dies, positioning strut for accurate pressing, easy to operate and more effort-saving than using old slide-through plate. DIY 58mm a kind of badge making machine which be used to make small gift like pin badge, mirror, opener, hanger, rosette flower, keychain and so on. 1x button maker machine, 100x button parts (metal top & pinback), 100x 78mm round liner paper, 100x 78mm round clear plastic film, 1 circle cutter. Button Pin Diameter: 58mm (2.28 inch). Material: High strength engineering plastics body & sturdy steel support. Gross Weight: 3.5 kg(7.72 lbs), Dimension: 938.5 Inch (LWH). Ergonomically Designed Handle and Bearing. Ergonomic designed handle offers a comfortable grip, bearing mechanics, save your time and energy. Place the pictures as the image shows in right direction to ensure that you have the button coming out with pictures in proper angle.
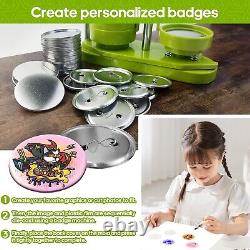
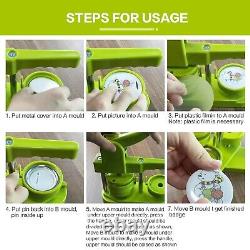
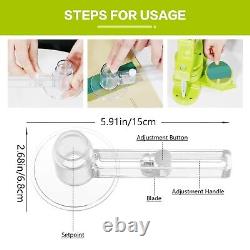
Mounting Base improved efficiency, feel silky and smooth to use. Equipped with a circular cutter, you can directly cut circular paper pieces that match the machine. One by one, put the metal shell, round printed paper, transparent plastic film into mould A as demonstrated in step 1,2,3. Align the picture with handle if you mind.
Turn mould A counter-clockwise 90° to reveal mould B on your left hand as demonstrated in step 4. Note mould B (different from mould A) contains metal frame and a black plastic washer inside. Put the metal pinback into mould B.The hinged pin side down, you can only see the wave-shaped wire. As demonstrated in step 5.
Turn mould A another 90° counter-clockwise to align the top mould with mould A, then press the lever firmly at once as demonstrated in step 6. There's a gap exist in top mould as marked and is fine. Turn mould B 180°clockwise to align the top mould with mould B as demonstrated in step 7.
Press the lever firmly at once as demonstrated in step 8, the lever goes down much lower than in step 6 and no gap exist in top mould as marked. Release the lever, turning mould B to get a completed metal pin badget button.

